* Add Aws AMI deployment guideline, fix configure-ssl.sh script

Co-authored-by: Minh Hieu <hieu.dv@geekup.io>
8.4 KiB
Introduction
In this tutorial, I’ll walk you, step by step, through the process of using the AWS Console to create and provision a new AWS cloud server. And since AWS offers a Free Tier valid for 12 months, you’ll have plenty of time to experiment with your server and Appsmith image without worrying about being billed for usage.
Overview
In this tutorial, I’ll launch a cloud server with the Appsmith Stack, which gives you a pre-configured Appsmith web application that you can start using right way.
Here are the steps you’ll follow in this tutorial:
- Register with Amazon Web Servces (AWS)
- Generate a SSH key pair
- Create an AWS Security Group
- Deploy Appsmith on an AWS cloud server
- Log in and start using Appsmith
- Configure custom domain for your app
The next sections will walk you through these steps in detail.
Step 1: Register With Amazon Web Services (AWS)
At the end of this step, you will have signed up for the Amazon Web Services free tier. If you already have an Amazon Web Services account, you may skip this step.
You will need an existing Amazon account to log in and sign up. To create it, follow these steps:
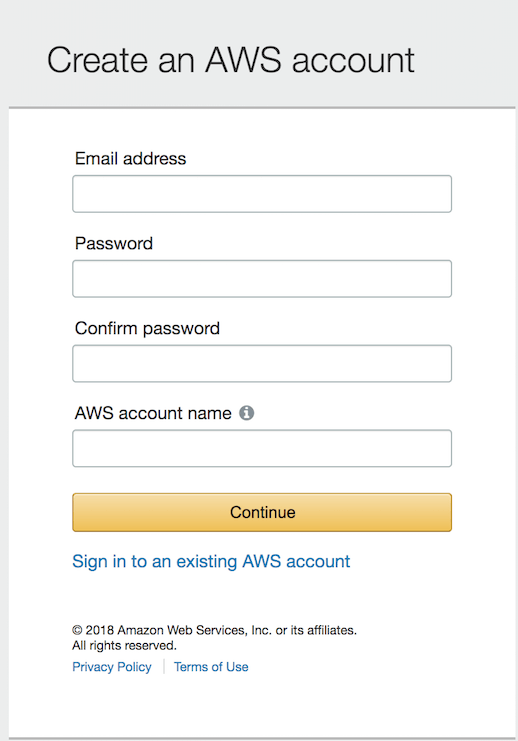
- Browse to http://aws.amazon.com and click the “Create an AWS account” button at the top of the page.
- In the resulting page, enter an email address, a password, and an AWS account name. Then, click “Continue” to start the registration process.
- Once you’ve signed in to Amazon, sign up for AWS by selecting the account type and providing some basic contact information and your mobile phone number.

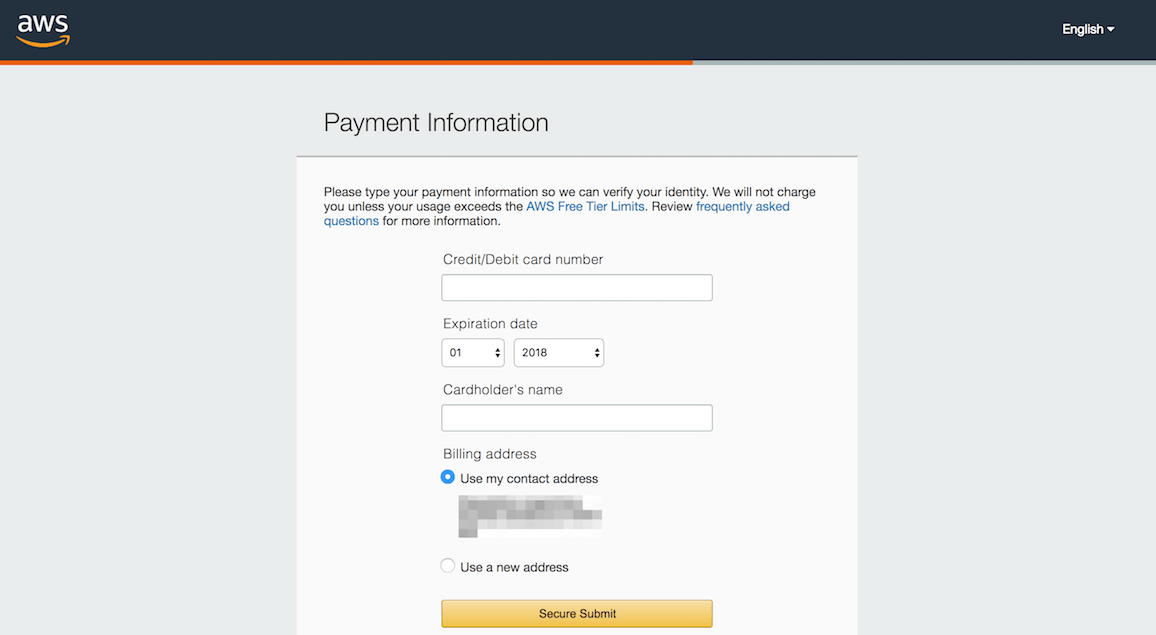
- Once that’s done, proceed to the next stage by entering your credit card information. Click the “Secure Submit” button to continue with the account creation.
- Amazon will now verify your identity, by making an automated call to your mobile phone number and prompting you to enter the PIN number displayed on the screen.
- Once your identity is verified, choose the “Basic” support plan (also free) and confirm your account.
- The AWS account registration machine will churn away for a minute or so, and you will then be redirected to a welcome page, which includes a link to the AWS management console. You should also receive an account confirmation email, which tells you that your account is good to go.
Step 2: Generate a SSH key pair
At the end of this step, you will have generated an SSH key pair to access your EC2 instances. If you already have an SSH key pair for the AWS region you are operating in, you can skip this step.
To generate an SSH key pair, which you will need to log in to your EC2 instances, follow the steps below:
-
Log in to the AWS Console.
-
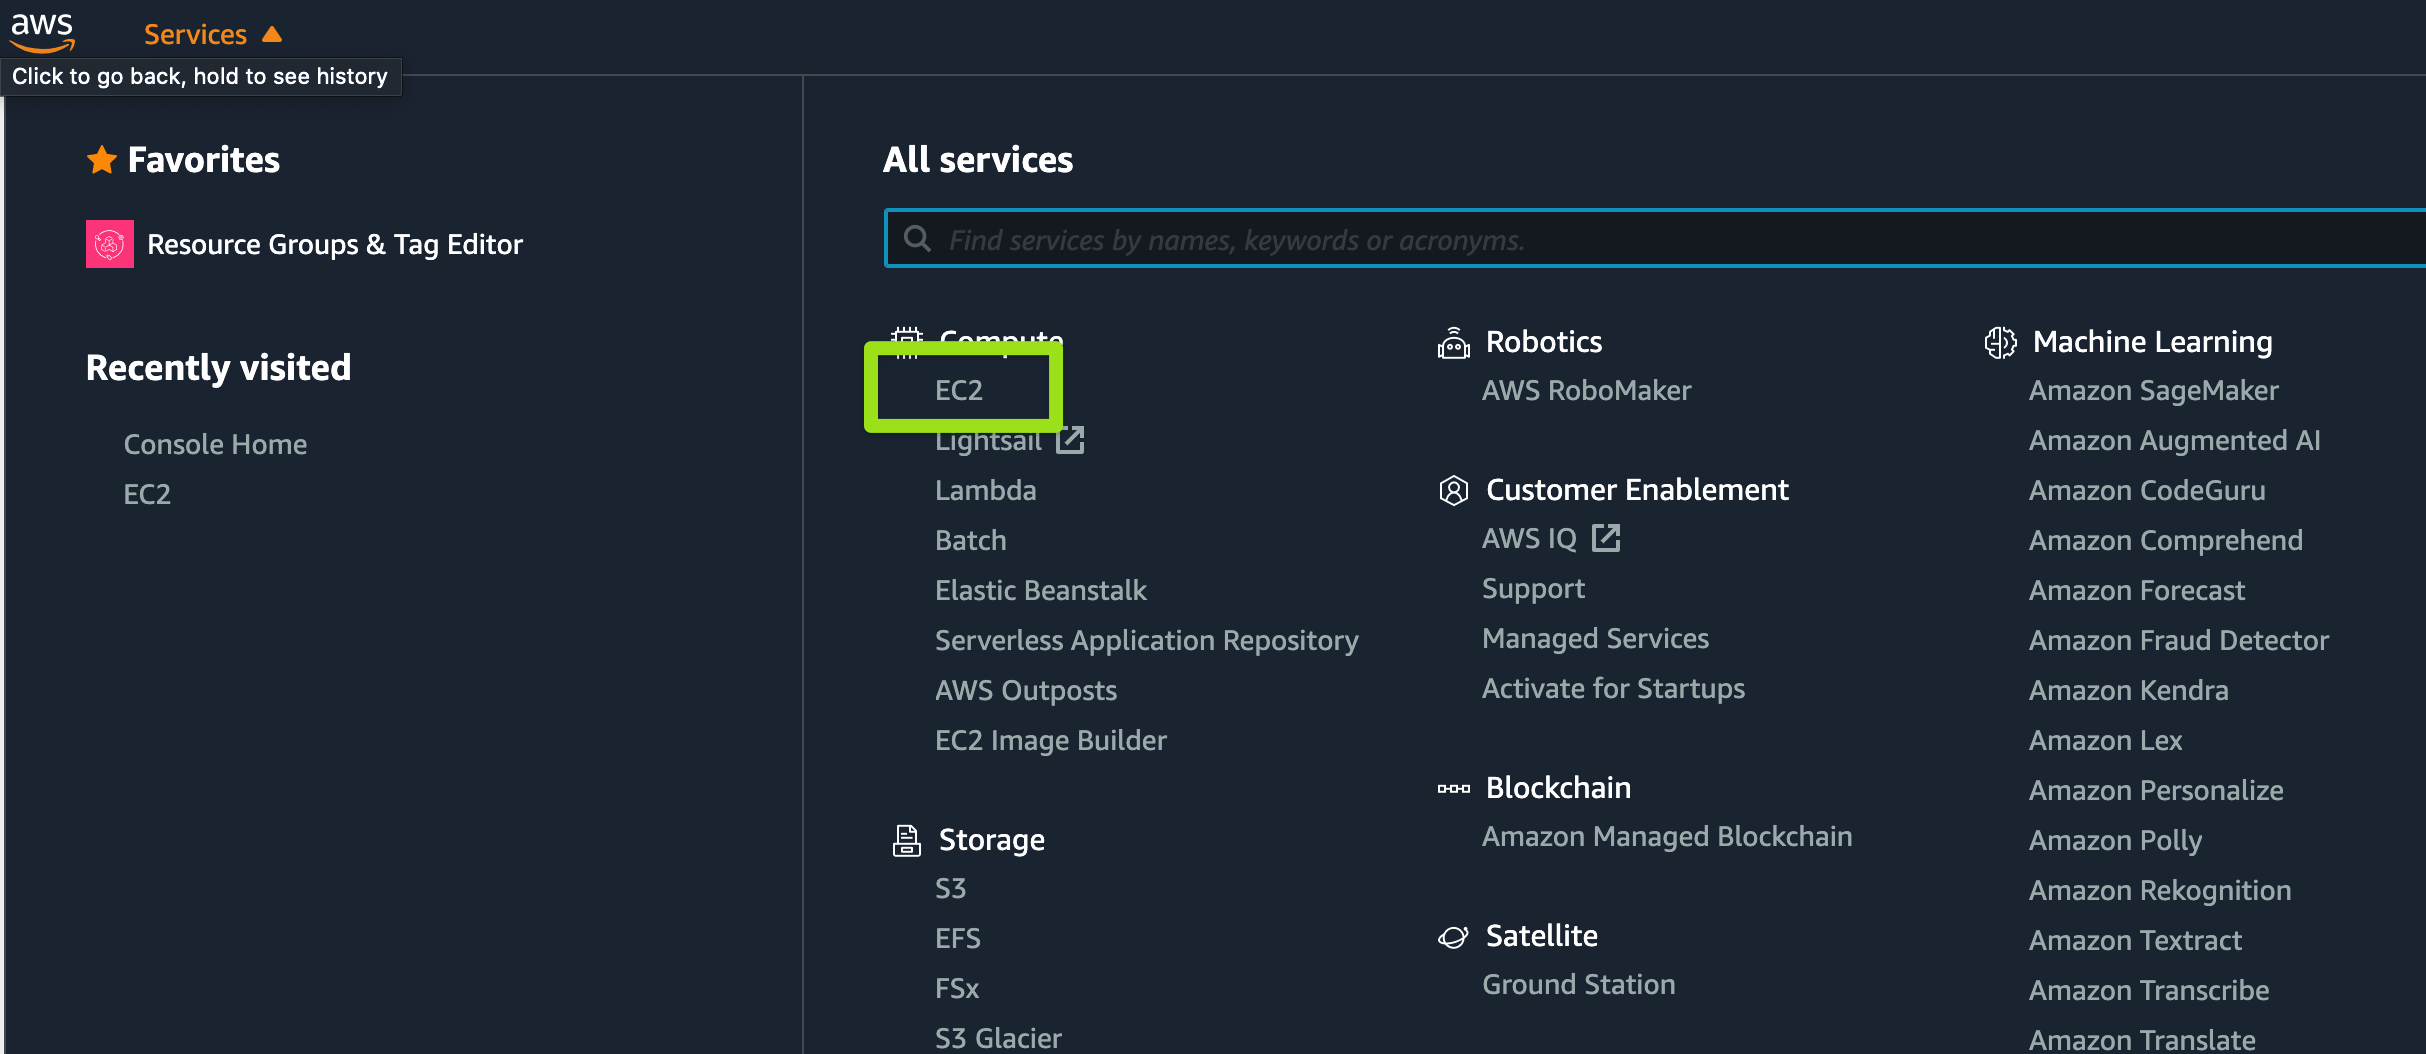
Select the EC2 service from Amazon Web Services menu.
-
If required, use the region selector in the top right corner to switch to the region where your instance will be launched.
-
From the Amazon EC2 dashboard, select the “Key Pairs” option in the “Network & Security” menu.

-
Click the “Create Key Pair” button. Then enter a name for the new key pair in the open dialog and click the “Create” button.

-
A new key pair, consisting of an SSH public and private key, will be generated. You will be prompted to download the private SSH key to your computer.
Step 3: Create an AWS Security Group
At the end of this step, you will have created an AWS security group for your cloud server.
By default, AWS cloud servers have their ports closed to secure them against external attacks. Since Appsmith is a Web application, it is necessary to open ports 80 and 443 for HTTP access, and port 22 for SSH access. To do this:
- From the Amazon Web Services menu, select the EC2 service.
- From the Amazon EC2 dashboard, select the “Security Groups” option in the “Network & Security” menu.

- Click the “Create Security Group” button.
- In the Create Security Group page, enter a name and description for the for the new security group.

- Click the “Add Rule” button in "Inbound Rule" section and add new rules for HTTP, HTTPS and SSH access using the following guidelines:
- Type: Use the pre-defined types “HTTP”, “HTTPS” and “SSH”.
- Source: Use “Anywhere” to allow access from anywhere, or use “Custom IP” and specify an IP address range.

- Click the “Create” button to save your changes.
Step 4: Deploy Appsmith On An AWS Cloud Server
At the end of this step, your Appsmith blog will be running on an AWS cloud server.
The next step is to launch a cloud server with the Appsmith Amazon Machine Image (AMI) running on it. The AWS Console lets you do this in just a couple of clicks. Follow these steps:
-
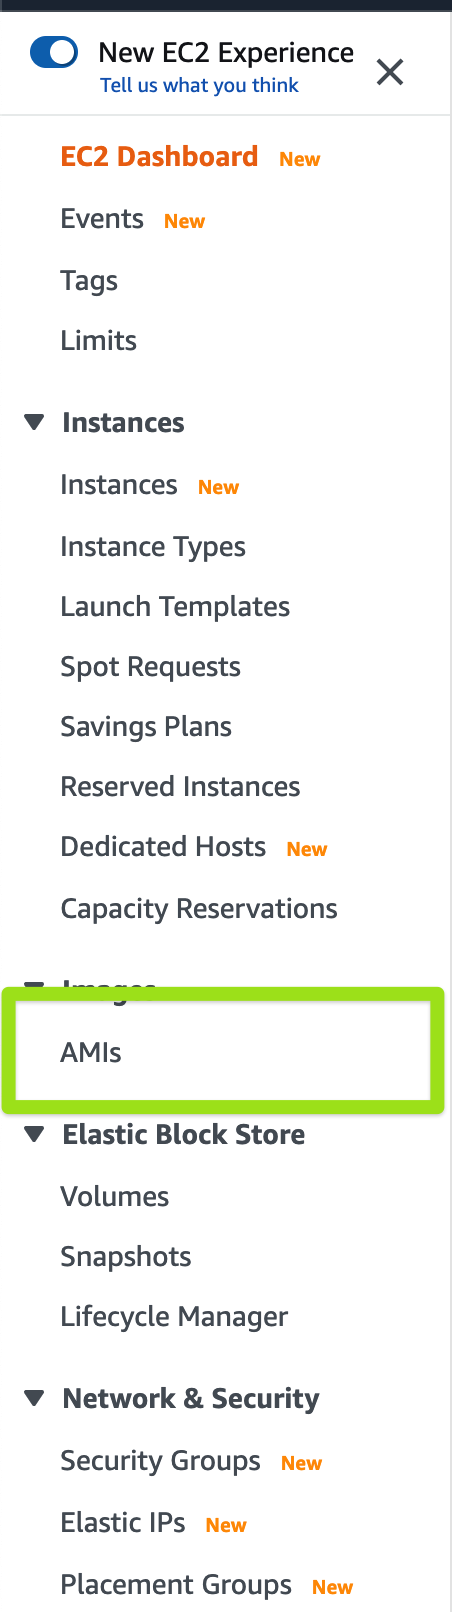
From the Amazon EC2 dashboard, select the “AMIs” option in the “Images” menu.
-
Search for the Appsmith Stack by entering the search term “appsmith” in the search bar at the top.

-
Select the image in the list of search results and click the “Launch” button.
-
On the resulting detail page, review the available server sizes. Select the server size you wish to use and click “Review and Launch” to proceed.

-
On the review page, click the “Edit security groups” link
-
On the “Configure Security Group” page, choose the option to “Select an existing security group”. Find the security group you created in Step 3 and select it. Click the “Review and Launch” button to proceed.
-
Verify that the correct key pair (created in Step 2) will be used for the server.
-
Confirm your selection by hitting the “Launch Instances” button.
The AWS Console will now begin spinning up the new server.

The process usually takes a few minutes, use EC2 Dashboard to check the status of the server. Once the server has launched, you will be able to obtain its public IP address from the EC2 Dashboard, as shown below:
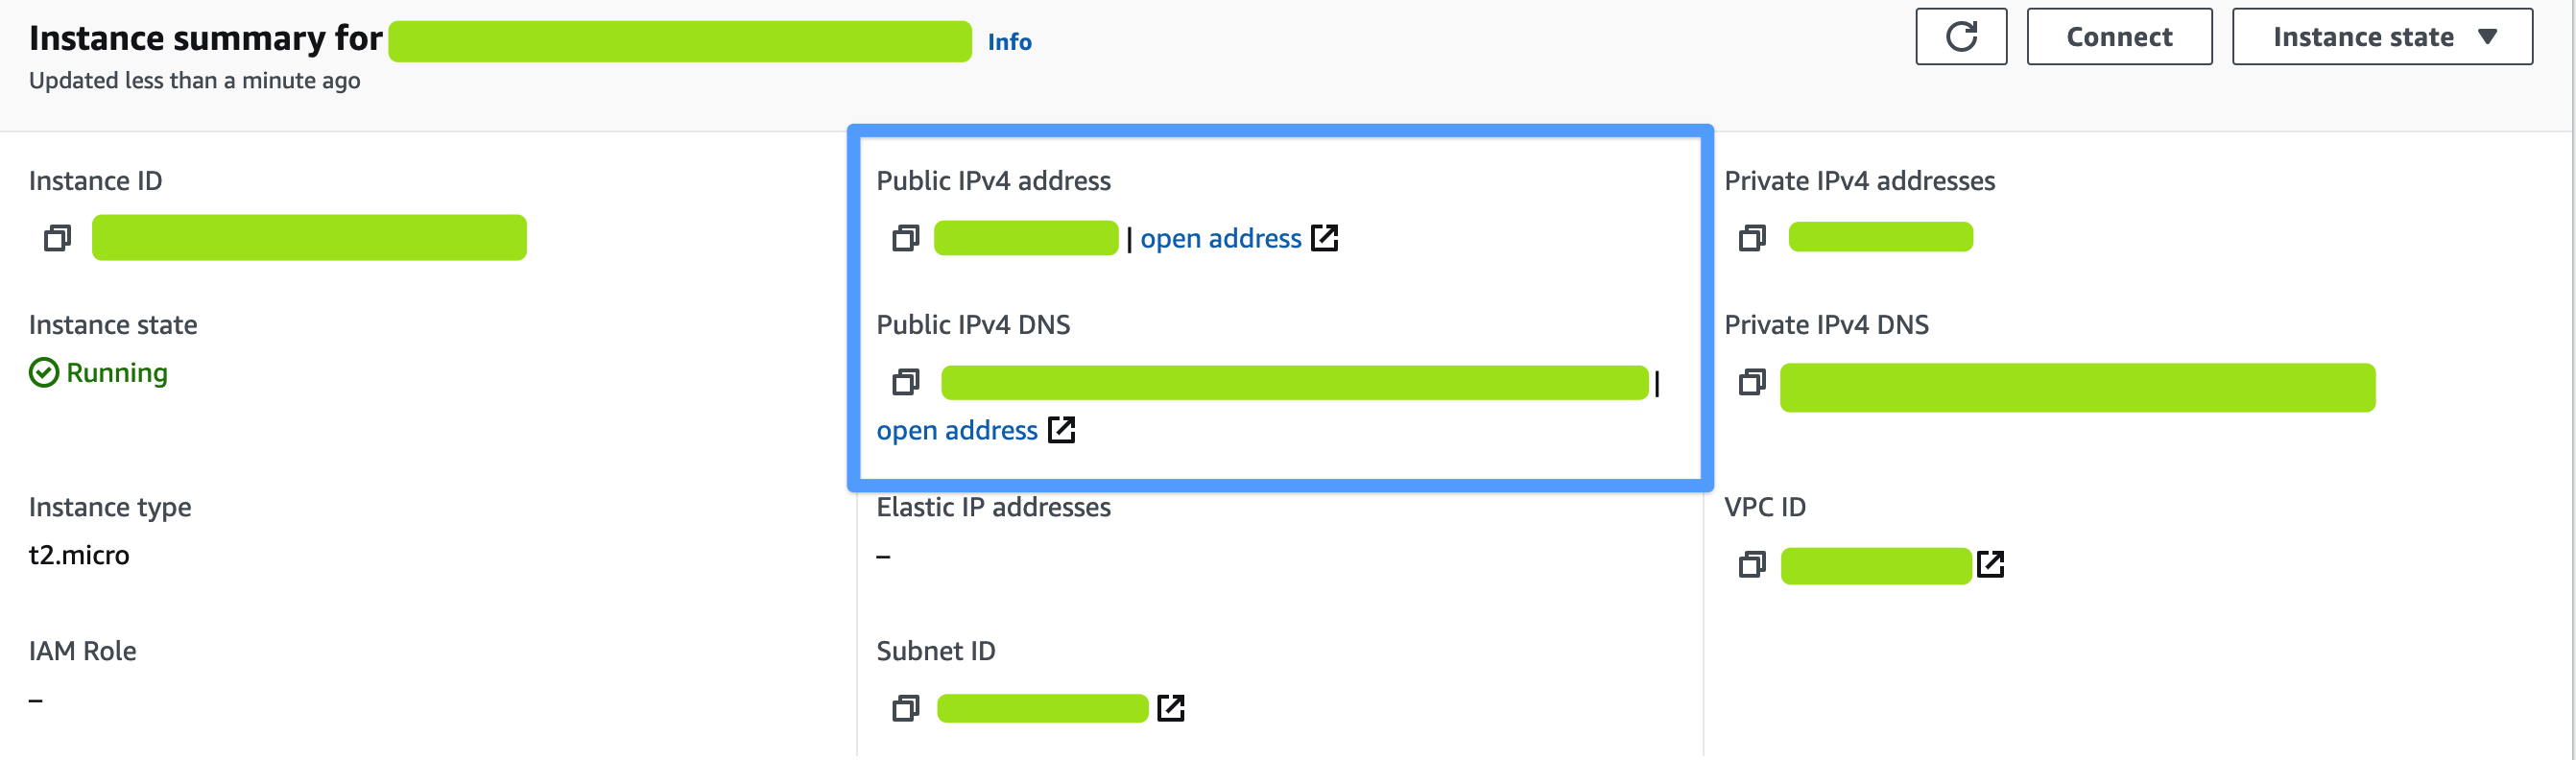
At this point, you should be able to browse to the cloud server, by entering the cloud server IP address or DNS name directly into your browser’s address bar. You should now see your webapp home page as shown below:
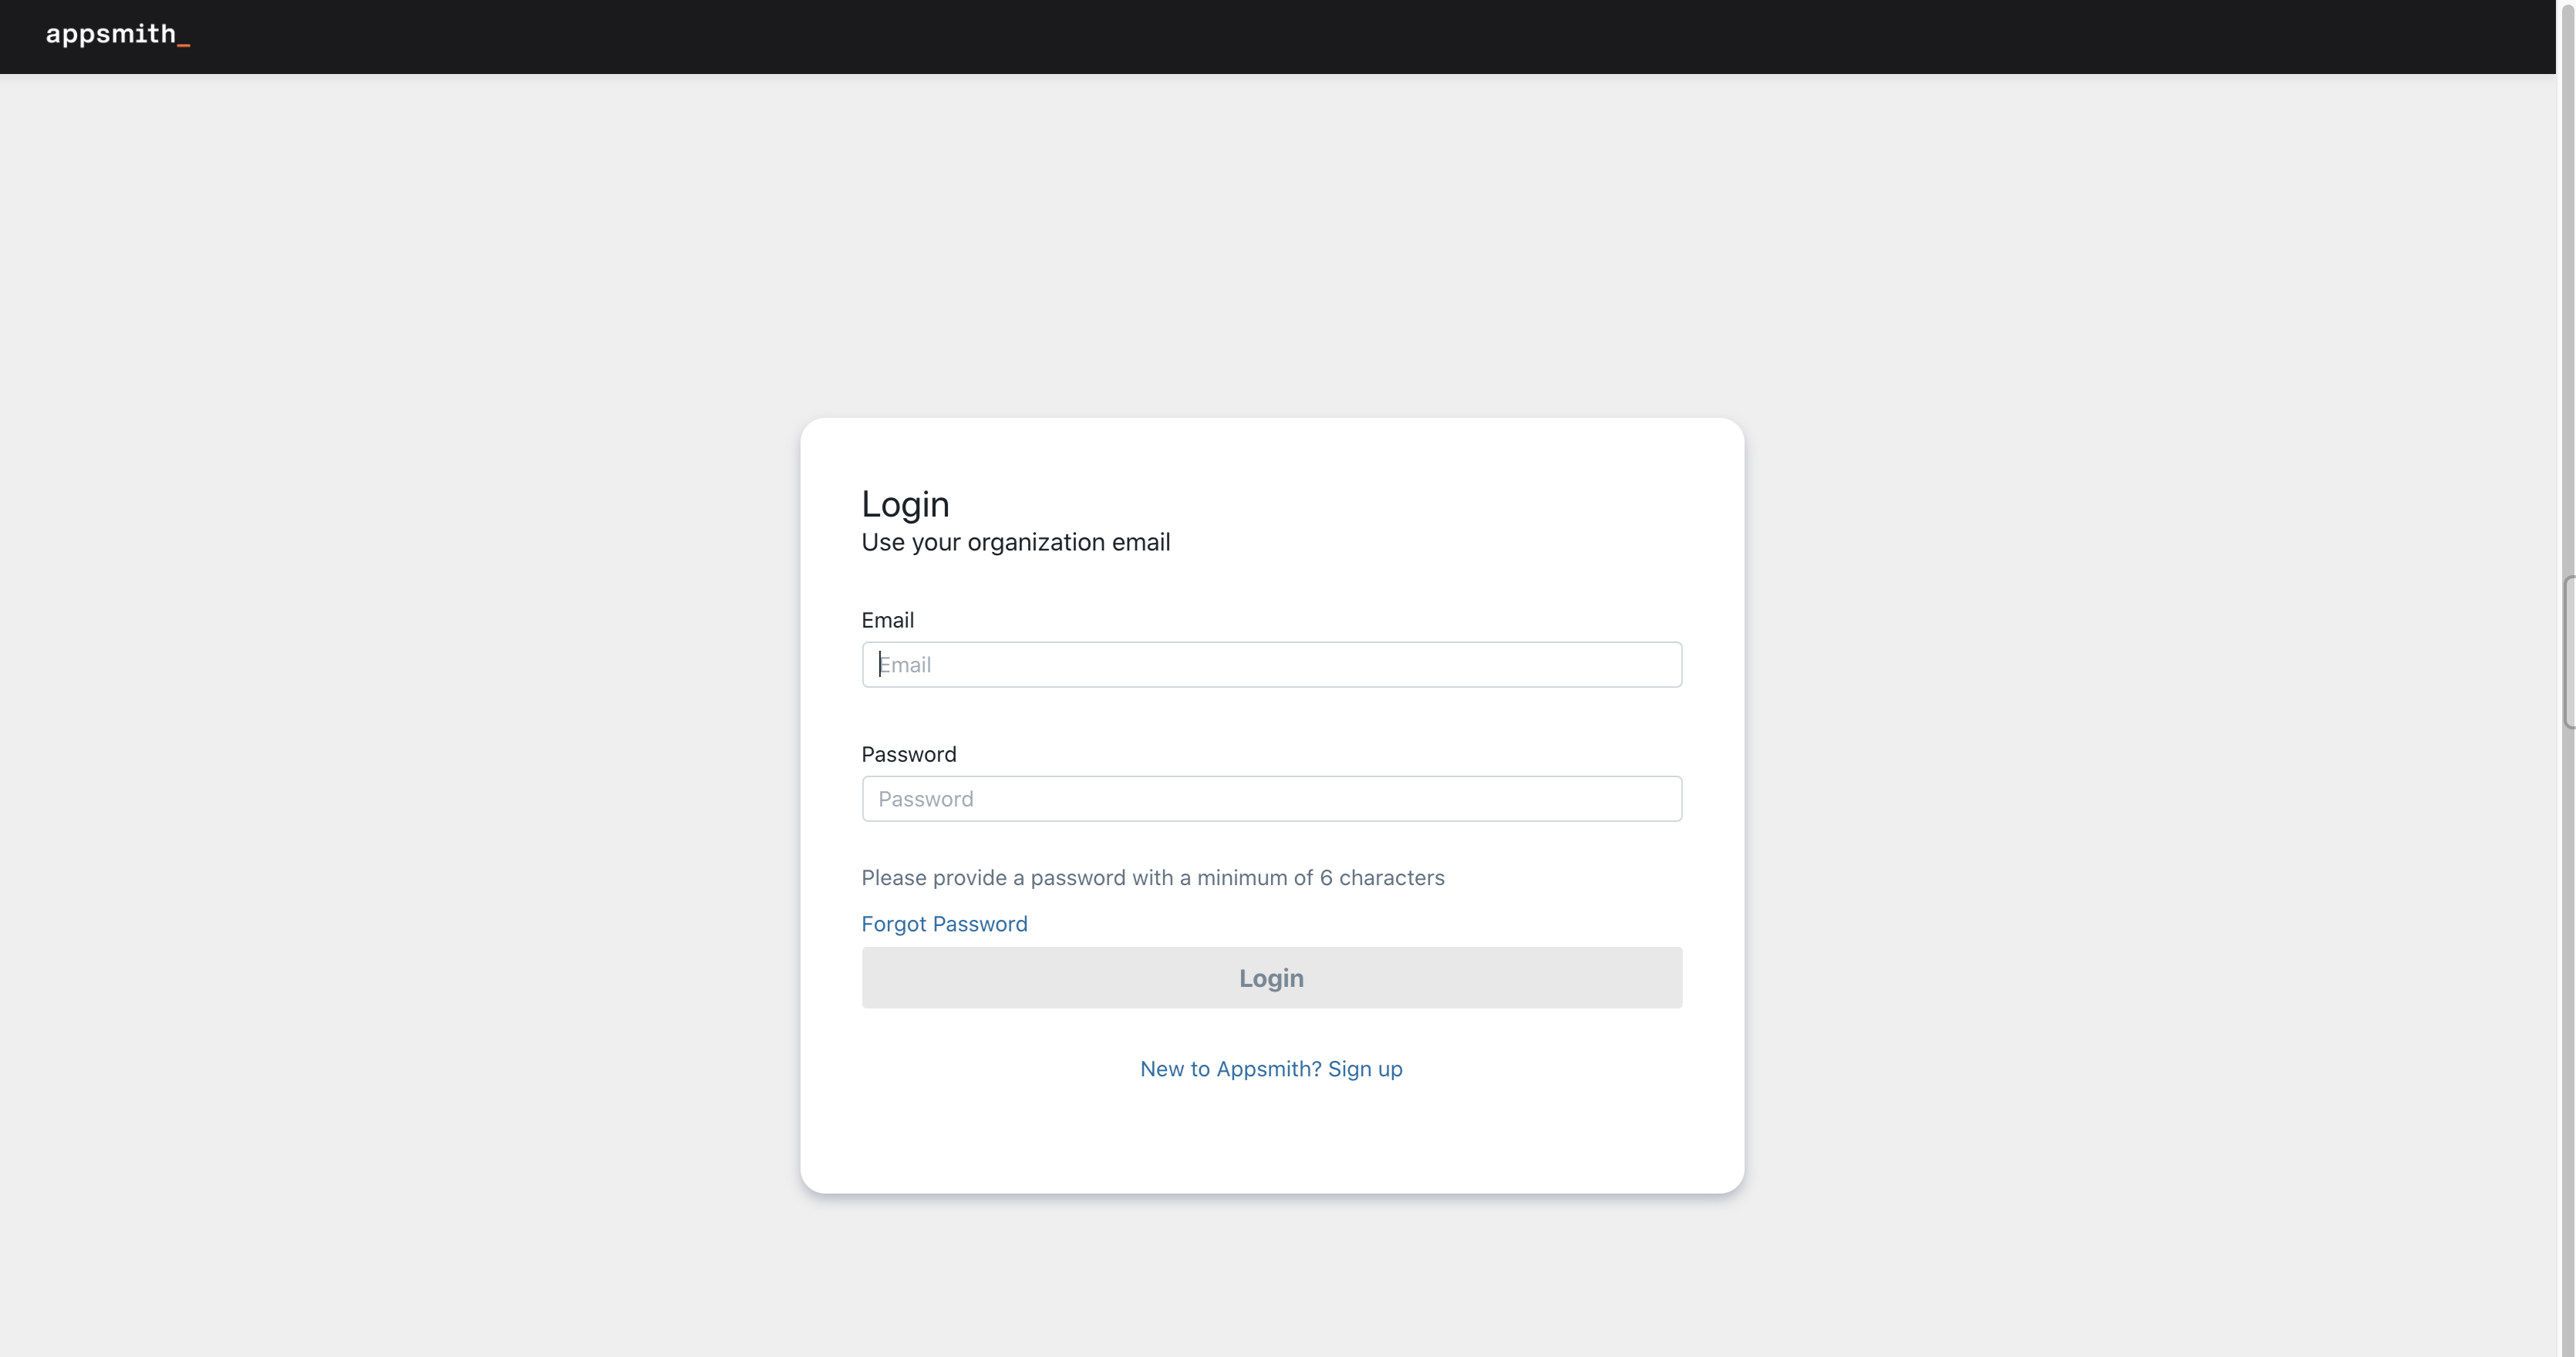
Step 5: Login & start using Appsmith
At the end of this step, you will have logged in to Appsmith and build your internal tools
To log in to the Appsmith dashboard, follow these steps:
- You will need to register an account to login
- Go to Sign Up page, fill in your user's email & password, then click Sign Up

- Go to Sign Up page, fill in your user's email & password, then click Sign Up
Once you completed the registration, you will be moved to Personal Organization page. Now you can begin to create your custom app.

For more tutorials on how to create your custom app by Appsmith, please take a look at https://docs.appsmith.com/
Step 6: Configure custom domain for your app
At the end of this step, you should be able to access to your web app by your custom domain
The next step is to configure your app so that it can be access by your custom domain. Follow these steps:
-
Once your instance is ready, connect to that instance (via SSH) using your key pair (Create in step 2) and the public ip of your instance (Create in step 4) by terminal or any SSH Client that you have
-
Move to
/home/ubuntu/appsmith/scripts -
Run
configure-ssl.shscript./configure-ssl.sh -
You will be asked to your input domain to proceed the configuration(Please make sure that you have map your domain with EC2 Instance's public ip)

-
There will be option for you to configure SSL for your domain

At this point, you should be able to browse to the cloud server, by entering the your custom domain directly into your browser’s address bar. You should be able to see your webapp home page now